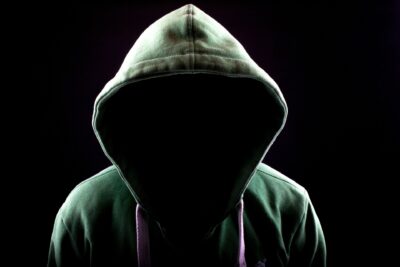
Lighting a set for a scene in a no budget horror film can be a challenging task, but with a bit of creativity and minimal equipment, it is possible to achieve professional results.
First, it’s important to understand the concept of “three-point lighting.” This is a basic lighting technique that involves using three lights to illuminate a subject: a key light, a fill light, and a backlight. The key light is the main light source and is usually placed in front of the subject at a 45-degree angle. The fill light is placed on the opposite side of the subject and is used to soften the shadows created by the key light. The back light is placed behind the subject and is used to create a sense of depth and separation between the subject and the background.
With this in mind, here are a few tips for lighting a set on any kind of no budget film:
- Natural light is your friend. Take advantage of any natural light sources, such as windows or skylights, to illuminate your set. You can also use mirrors or other reflective surfaces to redirect natural light into the scene.
- Use household lamps. Table lamps, floor lamps, and other household lighting fixtures can be used to create key, fill, and back lights. Simply adjust the position and intensity of the lights to achieve the desired effect.
- Experiment with colored gels. Colored gels can be used to add mood and atmosphere to a scene. For example, a blue gel placed over a lamp can create a cool, nighttime effect.
- Get creative with shadows. Shadows can be used to create a sense of depth and tension in a scene. Try using a single light source to create dramatic shadows, or use multiple light sources to create a more complex and interesting shadow pattern.
- Don’t be afraid to use the dark. A well-lit scene doesn’t always mean a brightly lit scene. Sometimes, darkness can be used to create a sense of mystery or tension.
Darkness in Horror Films
Darkness can be a powerful tool in a no budget horror film, as it can create a sense of mystery and tension. Here are a few examples of how darkness can be used in lighting a scene:
- Silhouettes: By lighting a subject from behind, you can create a silhouette effect that can add a sense of eerie mystery to a scene. This can be achieved by shining a light through a window or door, or by using a back light positioned behind the subject.
- Low-light: Shooting a scene in low-light conditions can create a sense of unease and tension. This can be achieved by using dimmer household lamps or by covering windows or other light sources to control the amount of light entering the scene.
- Shadows: Shadows can be used to create a sense of unease and uncertainty. By using a single light source and positioning it in a way that creates long and distorted shadows, you can add a sense of mystery and danger to a scene.
- Darkness with a single light: Using darkness and a single light source can create a dramatic and eerie effect. This can be achieved by positioning a subject in the dark and then shining a light on them from a single direction, creating a sense of isolation and vulnerability.
- Darkness with a flashlight: A handheld flashlight can be used to create a sense of unease and uncertainty by illuminating only a small portion of a scene. This can be effective in creating a sense of isolation, as the audience can only see what the character is seeing.
These are just a few examples of how darkness can be used in lighting a no budget horror film. By using your imagination and experimenting with different lighting techniques, you can create a sense of tension and unease that will keep your audience on the edge of their seats.
In conclusion, lighting a set on a no budget film requires creativity and experimentation. By understanding the basics of three-point lighting and using natural light, household lamps, colored gels, shadows, and darkness, you can create professional-looking results even with minimal equipment.
